
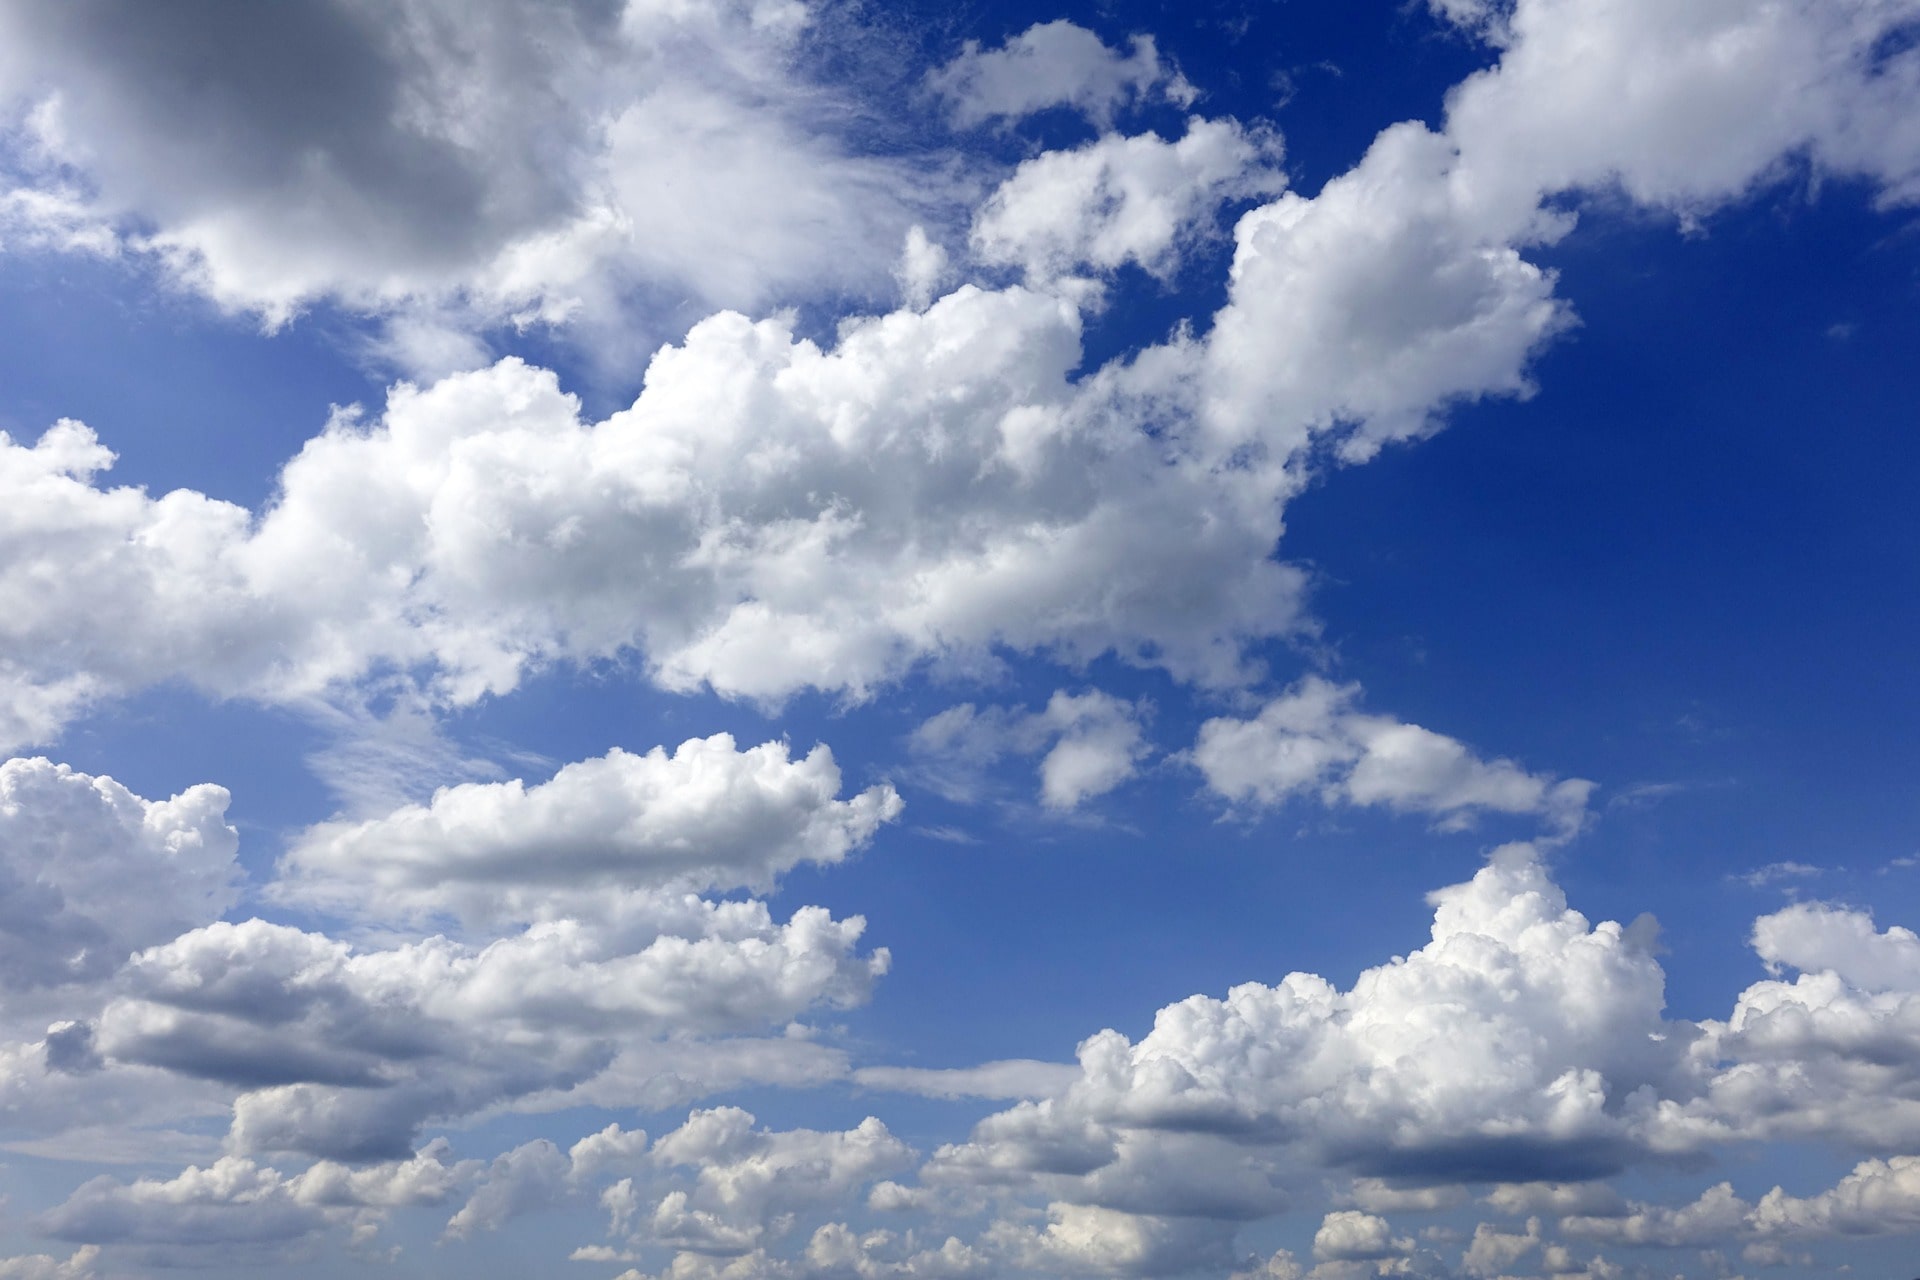
Cloud detection is, unfortunately, not straightforward. Nobody has yet found a fail-proof way to
determine the degree of cloudiness of the sky, other of course than the human eye, and then not always!
The CloudWatcher, like most devices, uses IR measurement as the basic tool to determine if
the sky is clear or not.
A clear sky has a lower IR reading than a cloudy one.
Other conditions, however, also affect the measurement, such as the ambient temperature,
the humidity, the density and size of particles in the atmosphere… there is no good formula to
quantify these contributions.
The traditional approach has been to subtract the ambient temperature from the infrared
reading, and use that to decide cloudiness. The CloudWatcher improves this approach by
adding some factors to further correct for local conditions (the “K” factors); the contribution of
local temperature is not the same in a very cold climate than in a coastal warm one, for
example.
In our experience, there are two valid approaches to have very reliable cloud detection,
depending on the conditions: frequent calibration, and good calibration.
– Frequent calibration: if you have access to see the sky often, in person, or via a
good AllSky camera, you can then tweak the limits (clear – cloudy – overcast
boundaries). A very clear sky will be for sure at least 10º colder than a slightly cloudy
one, usually even more.
It’s ideal to see the sky in the clear – cloudy transition, light clouds, and use that as the
limit.
Example: IR is reading 0º and the sky is “just cloudy”. We could use -2º for the clear
(so colder than -2º will be deemed clear) and 5º as the overcast limit (hotter than 5º will
be marked as overcast).
(the difference between cloudy and overcast is recommended to be in the 5 to 10º
range) Lunático Astronomía, S.L. – www.lunatico.es 03/10/2019
– Good calibration: this involves finding the best K-factors for the local conditions.
We’ll need to observe the cloud conditions graph for sunup to sunset for a good clear
day.
This procedure is more involved and is explained in detail the relevant section of the
online manual.
In both cases, and especially in seasonal weather changes, one should expect the limits clear/cloudy/overcast to need attention.
In many climates – other than quite extreme ones – the default K-factors, and some
adjustment to the limits a few times every year is quite enough.
Some other notes:
– it is important to install the unit as far from IR sources as possible. Over a roof,
while convenient, it is not the best idea.
– atmospheric phenomena (dessert dust is just an example) do affect rising the
IR readings.
– high, thin clouds can be very cold and extremely difficult to detection
– it is worth reading also this information to understand the rationale behind the
CloudWatcher K-factors.
– even with the best cloud detection, sometimes the rain falls from a clear sky –
especially in certain places – so the rain sensor is an absolute necessity.
The CloudWatcher is a reliable device that helps protect valuable equipment. If neglected, the
result is wasted clear, dark nights, or even worse equipment damage. Check the suitability of
the settings from time to time.
La detección de la nube, desafortunadamente, no es sencilla. Nadie ha encontrado aún una forma sin fallos de determinar el grado de nubosidad del cielo, aparte del ojo humano por supuesto ¡que no siempre funciona!
El CloudWatcher, como la mayoría de los dispositivos, utiliza la medición de IR como la herramienta básica para determinar si el cielo está despejado o no.
Un cielo despejado tiene una lectura de IR más baja que uno nublado.
Sin embargo, otras condiciones también afectan la medición, como la temperatura ambiente,
la humedad, la densidad y el tamaño de las partículas en la atmósfera … no hay una buena fórmula para
cuantificar estas contribuciones.
El enfoque tradicional ha sido restar la temperatura ambiente a la lectura del infrarrojo
y usar eso para decidir la nubosidad. CloudWatcher mejora este enfoque al
agregar algunos factores para corregir aún más las condiciones locales (los factores «K»); la contribución de
la temperatura local no es la misma en un clima muy frío que en uno cálido costero, por
ejemplo.
En nuestra experiencia, hay dos enfoques válidos para tener una detección en la nube muy confiable, dependiendo de dos condiciones: calibración frecuente y buena calibración.
– Calibración frecuente: si tiene acceso para ver el cielo a menudo, en persona o a través de un
buena cámara AllSky, luego puede ajustar los límites (claro – nublado – nublado)
límites). Un cielo muy claro seguramente será al menos 10º más frío que un poco nublado
uno, generalmente incluso más.
Es ideal para ver el cielo despejado- transición nublada, nubes claras, y usar eso como el
límite.
Ejemplo: IR está leyendo 0º y el cielo está «solo nublado». Podríamos usar -2º para despejar
(por lo tanto, más frío que -2º se considerará despejado) y 5º como el límite nublado (más caliente que 5º será
estar marcado como nublado). (se recomienda que la diferencia entre pacialmente nublado y nublado esté entre 5 y 10º
gama) Lunático Astronomía, S.L. – www.lunatico.es 10/03/2019
– Buena calibración: esto implica encontrar los mejores factores K para las condiciones locales.
Tendremos que observar el gráfico de condiciones de la nube desde el amanecer hasta la puesta del sol para un buen despeje
día.